A step-by-step guide on how to get a free SSL certificate using Google Trust Service and ACME for your website deployed on a VPS.
Table of contents
Open Table of contents
Get EAB Key by Google Cloud Shell
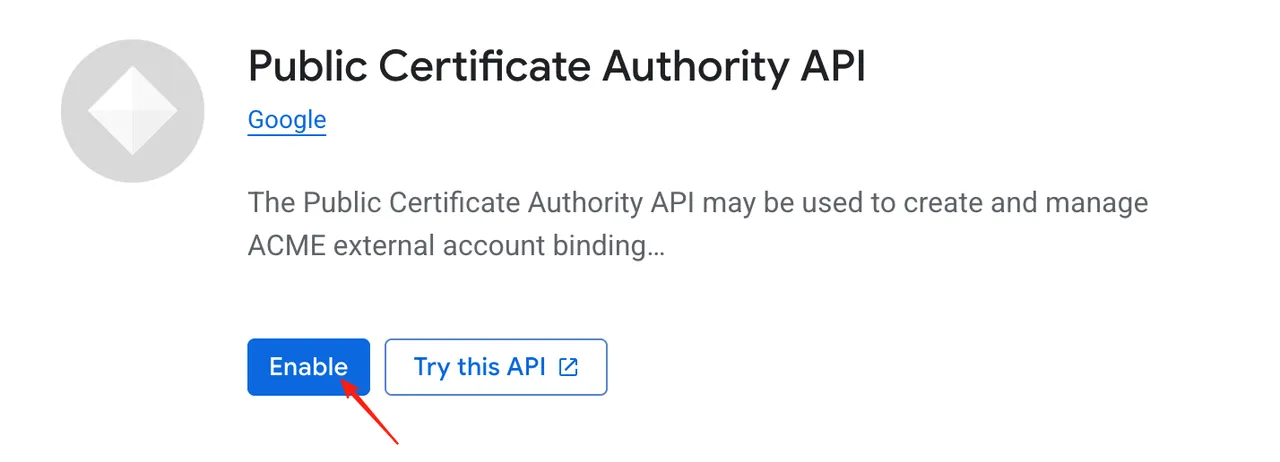
First, you need to enable the “Public Certificate Authority API” for your Google Cloud project.
- Open Public Certificate Authority API and enable it.
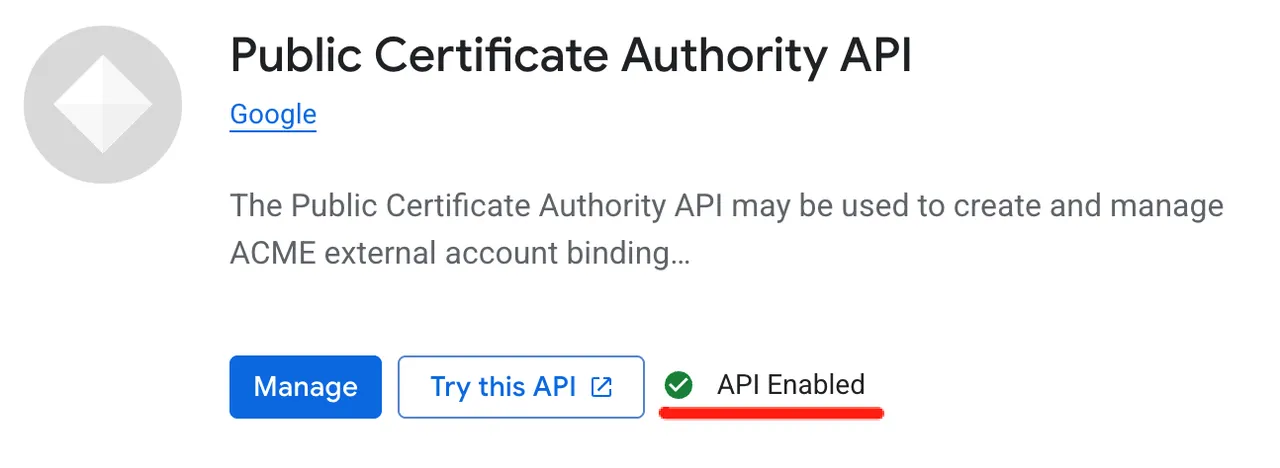
- If you haven’t enabled the API, click “Enable”.
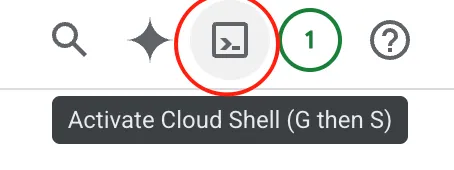
- After enabling the API, click “Activate Cloud Shell” in the top right corner.
- Run the following command to get your EAB Key ID and HMAC. This key is valid for 7 days.
gcloud publicca external-account-keys create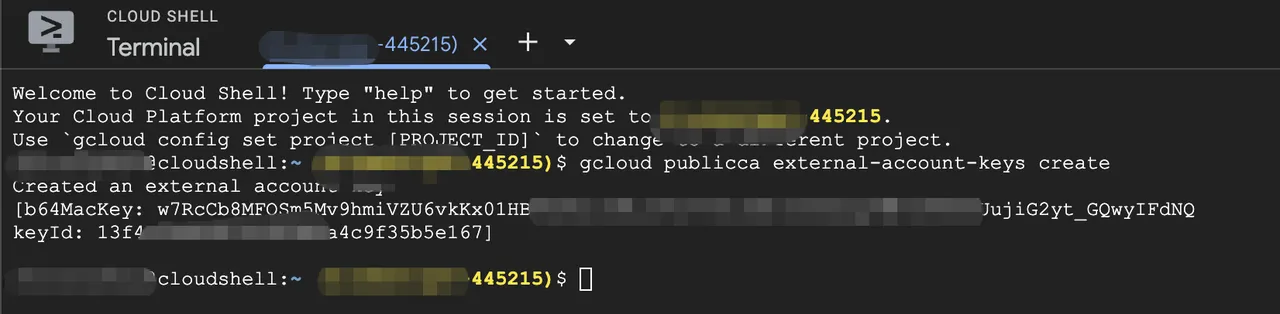
Install & Configure ACME
Install ACME
# Replace [Your EMail] with your email
curl https://get.acme.sh | sh -s email=[Your EMail]

# Reload user env
source ~/.bashrc

# Set Google as the default CA
# It's recommended to use --accountconf to specify a project name
acme.sh --set-default-ca --server google --accountconf /root/.acme.sh/[Your Project].conf
Register ACME account
acme.sh --register-account \
    --server google -m [Your EMail] \
    --eab-kid [Your keyId] \
--eab-hmac-key [Your b64MacKey]- Replace
[Your EMail]with your Email address - Replace
[Your keyId]with thekeyIdfrom the previous step - Replace
[Your b64MacKey]with theb64MacKeyfrom the previous step
 If you see output like this, it means the registration was successful.
Sign Google Trust Service certificate
Sign By Nginx Mode
acme.sh --issue -d [Your Domains] -d www.[Your Domains] --nginx

# If acme.sh cannot find the nginx path, you need to specify the conf path
acme.sh --issue -d [Your Domains] -d www.[Your Domains] --nginx /etc/nginx/conf.d/nginx.conf- Replace
[Your Domains]with your project domain.
Sign By DNS Mode
-
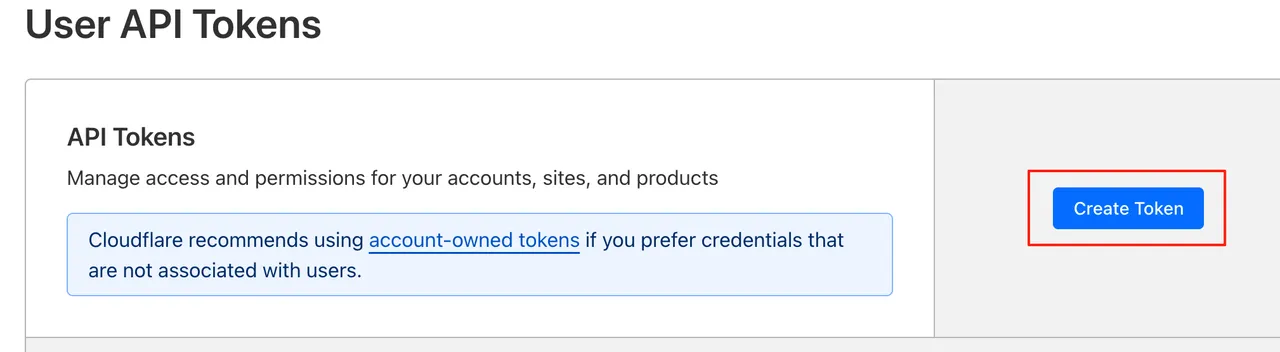
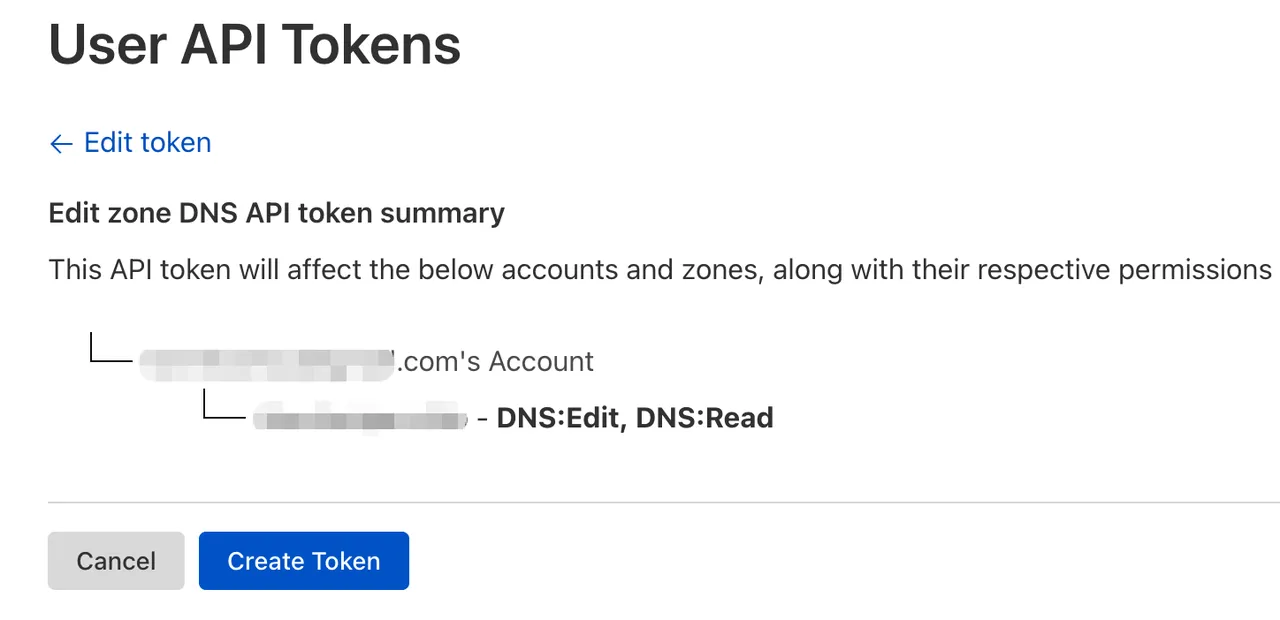
Go to Cloudflare API Tokens and create an API token.
-
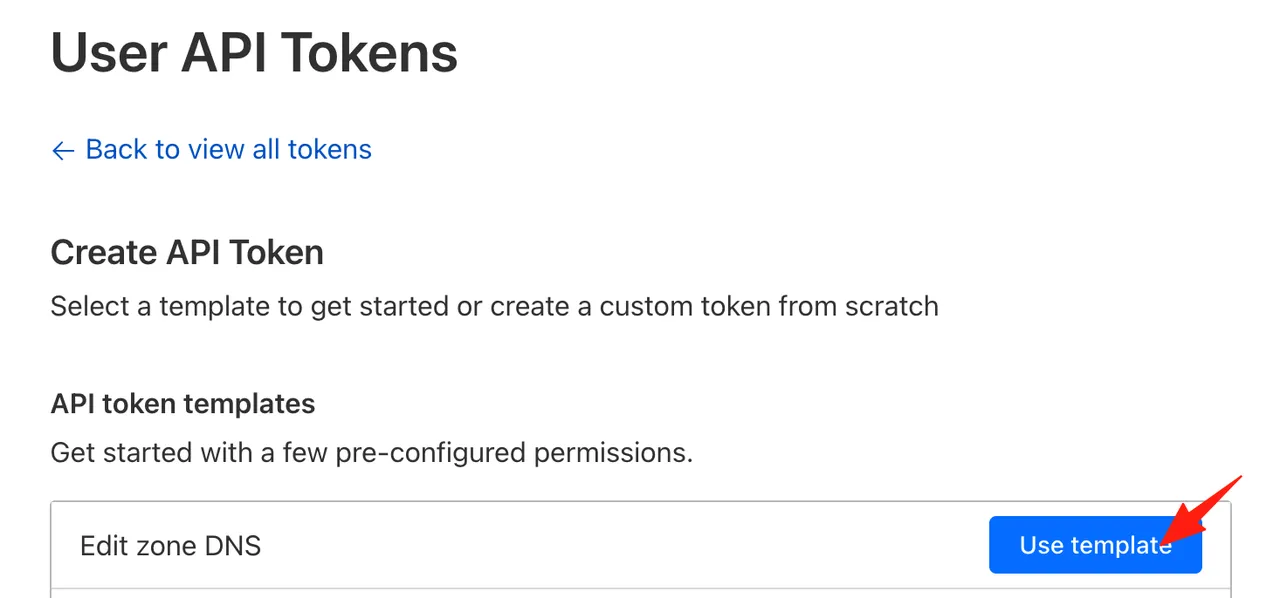
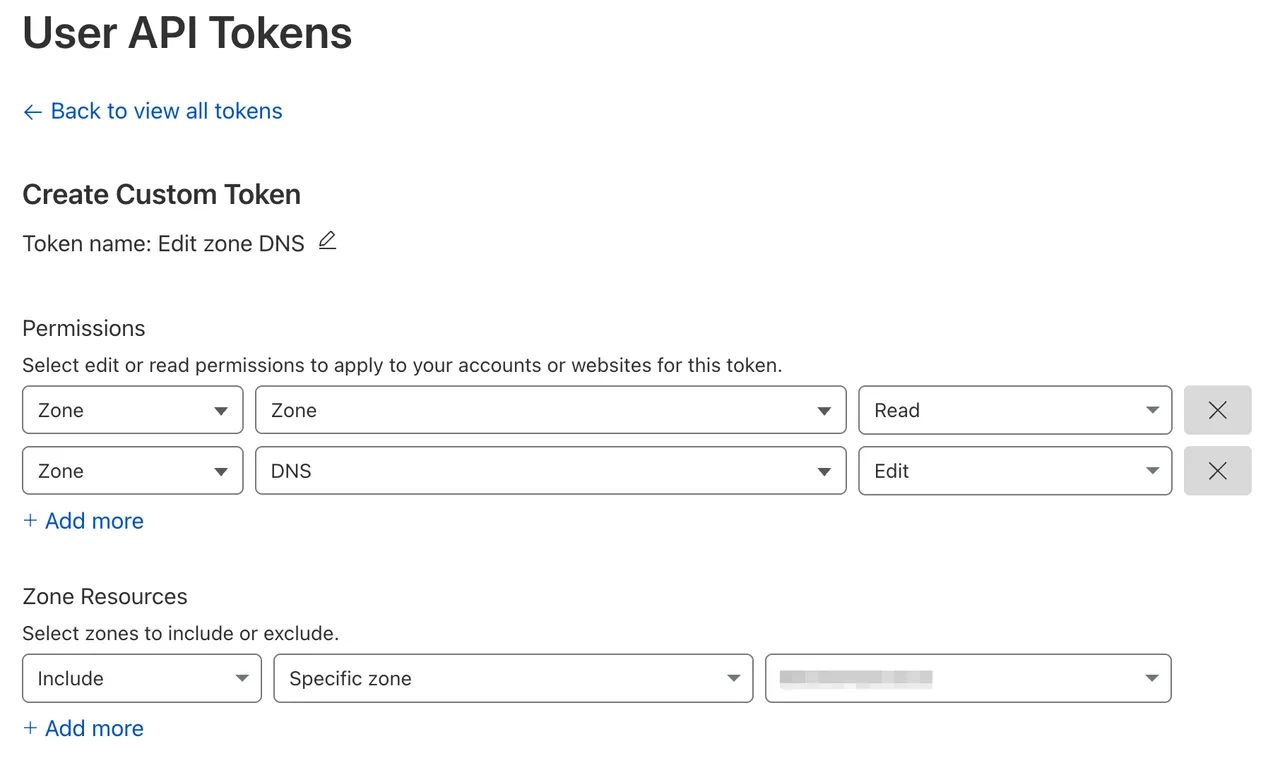
Select the “Edit zone DNS” template.
-
Include your domain.
-
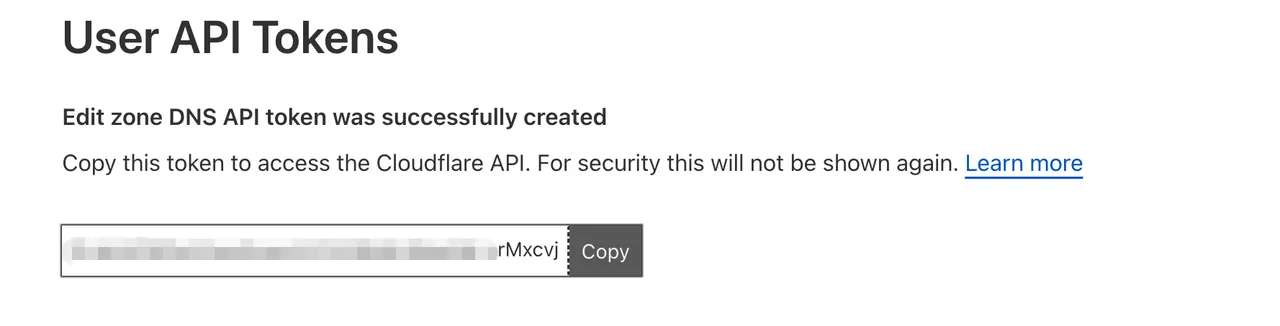
Click “Create Token” and save the token.
-
Save the Token
-
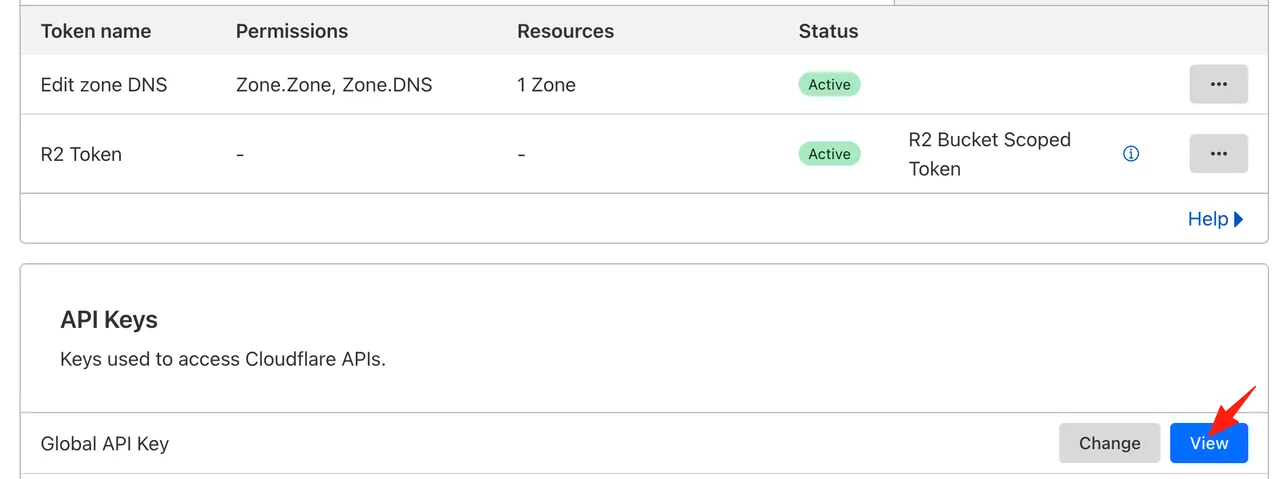
You can also get the Global API Key.
-
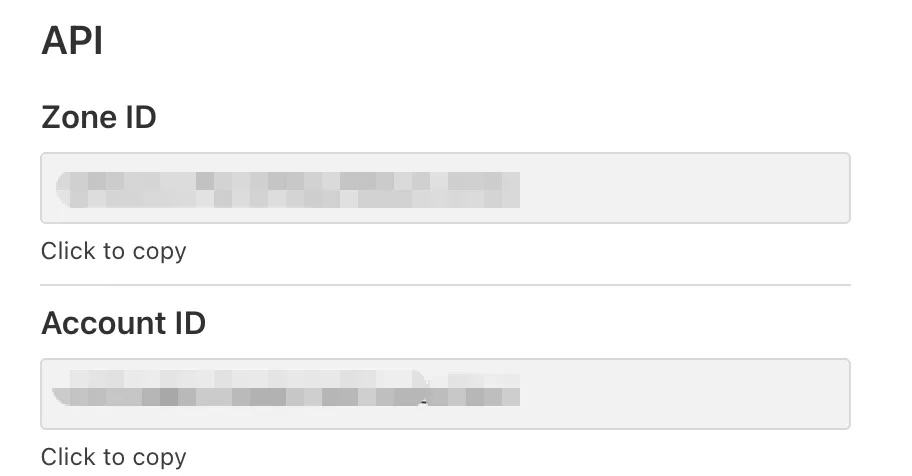
Find your Zone ID and Account ID on your domain’s dashboard page.
-
Use
exportto set the environment variables.# Single Domain API (Only control this domain) export CF_Token=[Your User API Token] export CF_Account_ID=[Your Domain Account ID] export CF_Zone_ID=[Your Domain Zone ID] -
Sign the certificate.
# RSA Certificate
acme.sh --issue --dns dns_cf -d [Your Domain] -d *.[Your Domain] --keylength 2048 --accountconf /root/.acme.sh/[Your Project].conf

# ECC Certificate
acme.sh --issue --dns dns_cf -d [Your Domain] -d *.[Your Domain] --ecc --accountconf /root/.acme.sh/[Your Project].conf --dnssleep 30
Install the certificate
# Install RSA certificate
acme.sh --install-cert -d [Your Domain] --keylength 2048 \
        --key-file       /path/to/ssl/private.key  \
        --fullchain-file /path/to/ssl/fullchain.pem \
        --ca-file        /path/to/ssl/ca.pem

# Install ECC certificate
acme.sh --install-cert -d [Your Domain] --ecc \
    --key-file       /path/to/ssl/ecc_private.key  \
    --fullchain-file /path/to/ssl/ecc_fullchain.pem
Configure Nginx
After signing the certificate, we need to configure Nginx.
server {
    listen 443 ssl;
    server_name [Your Web Domain];
    access_log /var/log/nginx/[Your Web Domain]_access.log;
    error_log /var/log/nginx/[Your Web Domain]_error.log;
    ssl on;
    ssl_certificate     /path/to/ssl/fullchain.pem;
    ssl_certificate_key /path/to/ssl/private.key;
    ssl_protocols TLSv1 TLSv1.1 TLSv1.2;
    ssl_prefer_server_ciphers on;
    client_max_body_size 20m;

    location /{
        proxy_pass http://localhost:3002;
    }
}
Save and exit, then check and reload Nginx.
# Check Nginx
nginx -t
# reload
nginx -s reload